I am lucky enough to be on the staff for Scrapbook News and Review. It is an AMAZING online magazine that provides eye candy as well as articles and "how to" information. I have been there for almost two years and I have grown so much as a scrapper. SNR helped me jump out of the box and explore with mix media and digital. It has been an amazing experience and I am so honored to be part of SNR.
You have to check out
and see for yourself.
Here is a layout that I did for Issue #9 and one of my favorites. Its a reflection of my way of opening to another world of scrapbooking.
Here is a little extra special thing for you today...a tutorial!!
Thanks for stoping by and I hope you enjoy the tutorial
Plus don't forget to stop by at the FORUM. We love to hear from you :)
Creating a lattice effect on paper with your scoring tool
Supplies3x3 cardstock or patterened paper
scoring tool
ink/ink sponge
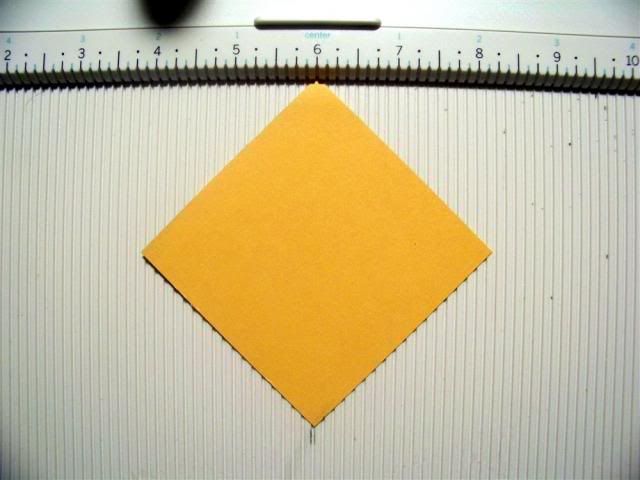
Step 1
Cut a 3x3 piece of cardstock or patterned paper then center it on your scoring pad in the 6 inch mark
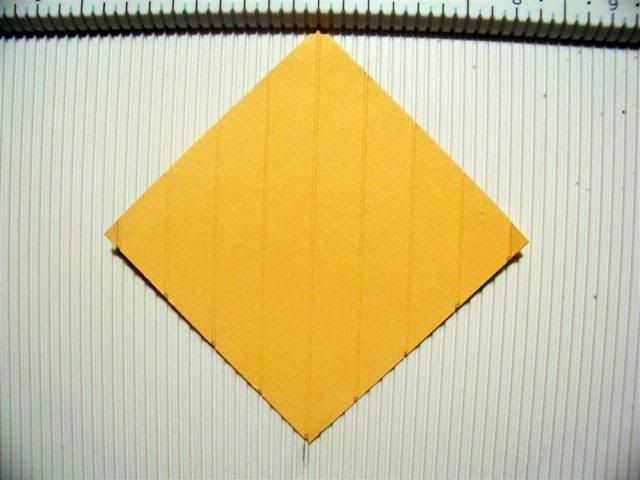
Step 2
Score in the of the 6 inch and then score the left and right every inch to look like this
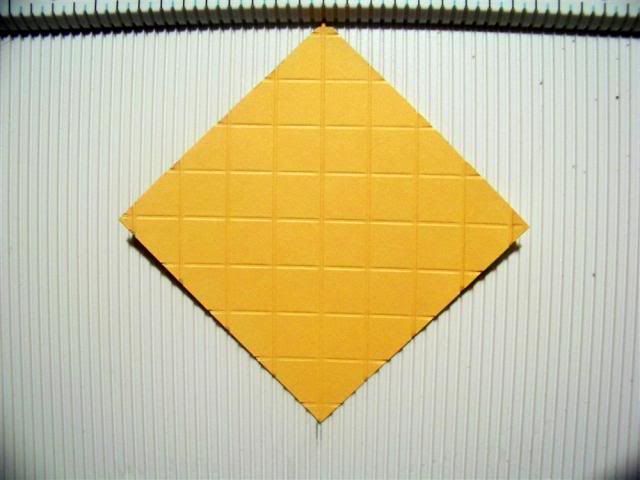
Step 3
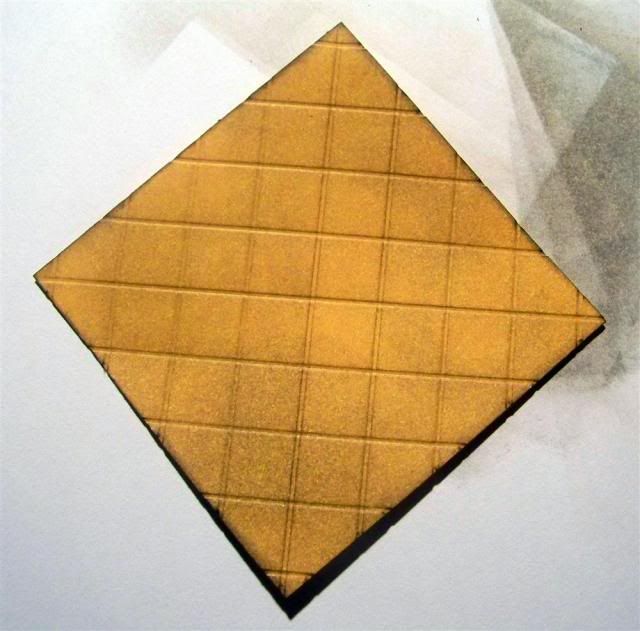
Turn the piece and repeat step 2 so it looks like a lattice pattern
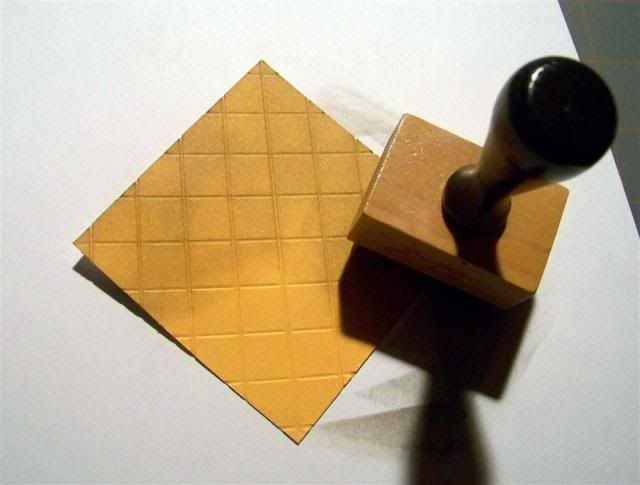
Step 4
Take your favorite ink and rub against the paper - at this time you can use the debossing or the embossing side of the paper
Step 5
Here is what it looks like after its been covered with ink
Step 6
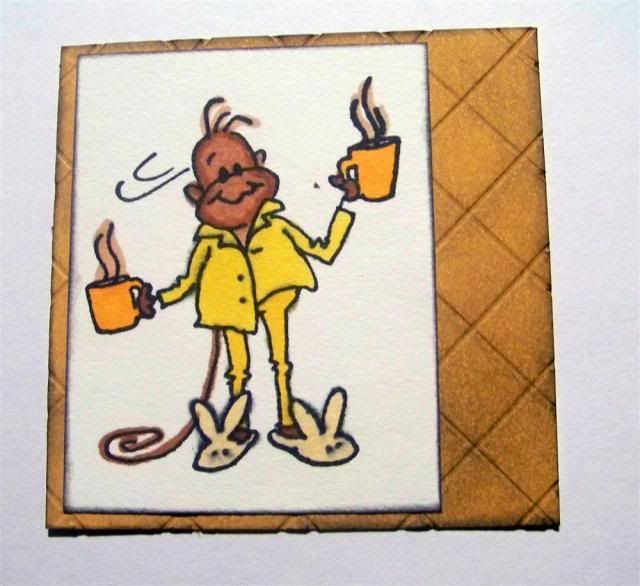
Now you can assemble your card and use the lattice piece as a mat or an extention of the card. Here is what I did
My Finished Piece
Supplies:Stampendous Stamp
Copic Markers- Y15, Y17, YR04, E17, E13, W50
Amerian Crafts Patterned Paper/Cardstock
Others- flowers and sentiment



Comments
Congratulations on being in the Staffer Spotlight!!