Its our last of the 12 Days of Christmas. I hope you enjoyed the wonderful projects that the designers posted here the last 12 days.
A Walk Down Memory Lane Store Sales are good till Dec 13th....so act fast and order your goodies from Lisa
All projects must be posted in our Mr.Linky thread by Dec 24th at Midnight PST.
You can get the link for the sales and Mr.Linky HERE
Mini Album
By Lucy Chena

Supplies
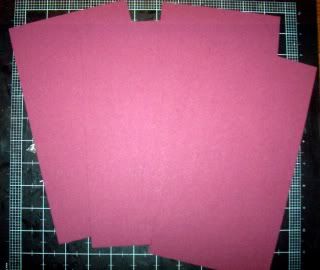
4 pieces- solid cardstock 5 ½ x10
1 piece - sold cardstock 5 x 5
2 pieces- chipboard to make album covers 5 x 5 ½
2 pieces- pattern paper 6x6
2 pieces -coordinating paper that will cover the inside of the covers for the album 4 ½ x 4 ½
Circle cutter or 1 inch punch (I used my CM circle cutter)
Scraps or paper that will be used to decorate your album
Ribbon
Inking (optional)
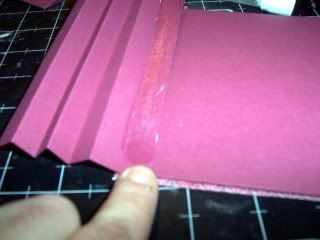
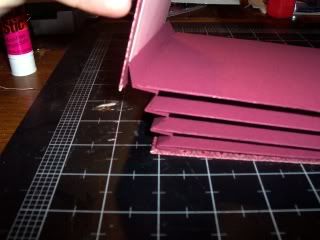
Part A- making of the inside pockets
Take your 5 ½ x 10 pieces of cardstock and take out your scoring tool out
At the 10 inch side- score at 5 inches
As the 5 ½ inch side- score ¼ inches on each side
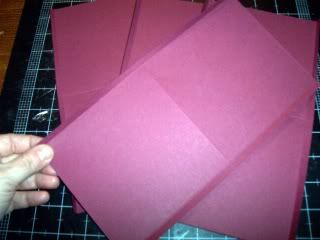
Cut only one side of the ¼ inch to the 5 inch score line
Fold score lines
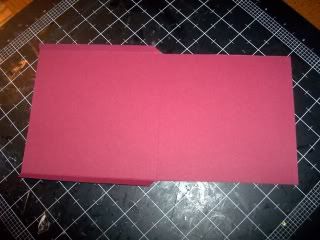
Add adhesive to the ¼ inch strip and fold over the top part to make a pocket
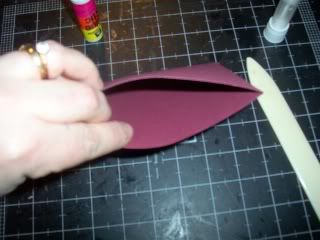
Repeat the steps to make 4 pockets
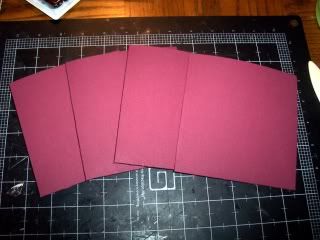
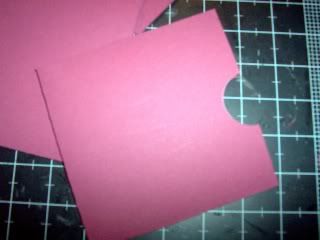
Use your circle punch to make a half a circle in the middle of the pocket (optional)
Part B- making your covers for the album
By Lucy Chena
Supplies
4 pieces- solid cardstock 5 ½ x10
1 piece - sold cardstock 5 x 5
2 pieces- chipboard to make album covers 5 x 5 ½
2 pieces- pattern paper 6x6
2 pieces -coordinating paper that will cover the inside of the covers for the album 4 ½ x 4 ½
Circle cutter or 1 inch punch (I used my CM circle cutter)
Scraps or paper that will be used to decorate your album
Ribbon
Inking (optional)
Part A- making of the inside pockets
Take your 5 ½ x 10 pieces of cardstock and take out your scoring tool out
At the 10 inch side- score at 5 inches
As the 5 ½ inch side- score ¼ inches on each side
Cut only one side of the ¼ inch to the 5 inch score line
Fold score lines
Add adhesive to the ¼ inch strip and fold over the top part to make a pocket
Repeat the steps to make 4 pockets
Use your circle punch to make a half a circle in the middle of the pocket (optional)
Part B- making your covers for the album
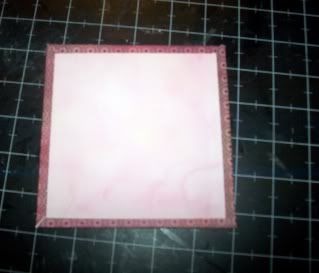
•Take the 2 pieces of the chipboard and cut them at 5 x 5 ½ inches
Cover it with the 6 x 6 pattern paper
Cut the sides in a angle to fold better

Adhere all around and firm it with a bone folder
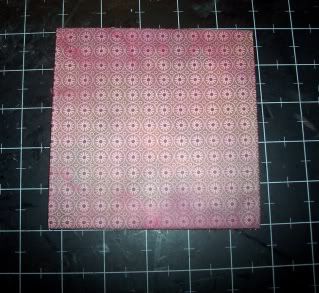
Then cut 4 ½ x 4 ½ coordinating pattern paper or solid cardstock for the inside of the album covers
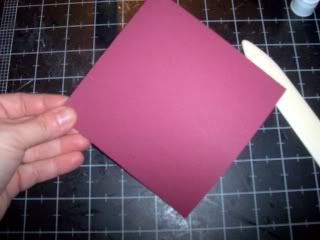
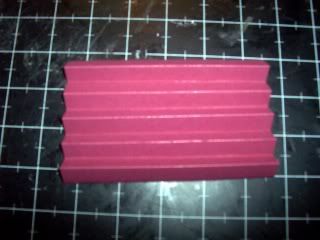
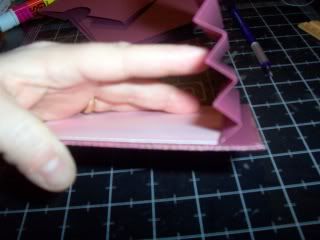
Part C- making of the binder for the album
Cut a 5 x 5 piece of sold cardstock
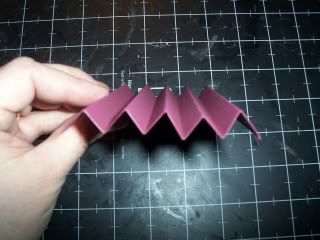
Score ½ all the way to the end. You will have 9 score lines when you are done
Fold the score lines in and out so they look like mountains and valleys
Part D- Putting it all together•Now take the binder and adhere one to one of the album covers
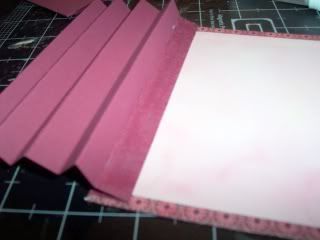
Adhere your first pocket on the top if the first “mountain of that binder and continue to do this till all the pockets put in the mini album
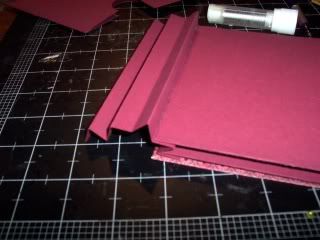
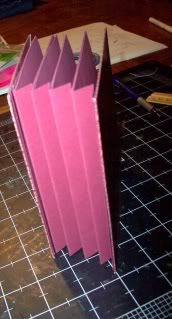
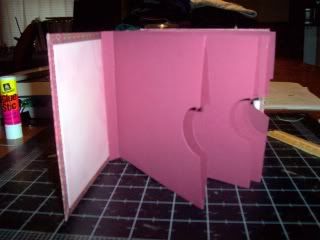
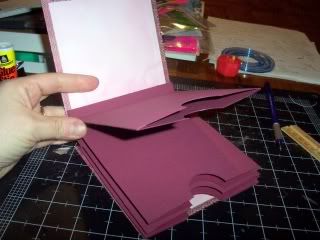
After this is done , use a bone folder to secure it better
Part E- finishing up the album
You are done with your book and you can start decoration it in any style or theme


Enjoy and have fun
Cover it with the 6 x 6 pattern paper
Cut the sides in a angle to fold better
Adhere all around and firm it with a bone folder
Then cut 4 ½ x 4 ½ coordinating pattern paper or solid cardstock for the inside of the album covers
Part C- making of the binder for the album
Cut a 5 x 5 piece of sold cardstock
Score ½ all the way to the end. You will have 9 score lines when you are done
Fold the score lines in and out so they look like mountains and valleys
Part D- Putting it all together•Now take the binder and adhere one to one of the album covers
Adhere your first pocket on the top if the first “mountain of that binder and continue to do this till all the pockets put in the mini album
After this is done , use a bone folder to secure it better
Part E- finishing up the album
You are done with your book and you can start decoration it in any style or theme
Enjoy and have fun

Comments